
20 May 2025
From Screen to Print: Tips for Turning Digital Designs into Physical Prints that Pop
We’ve all been there - you spend hours perfecting a design on your computer, only to find that the final printed version looks... off. Maybe the colours are muted, the image is blurry, or the sizing just feels wrong. Don’t worry, you’re not alone. Making the leap from screen to print comes with a few challenges - but the good news is, they’re easy to avoid once you know what to look out for.
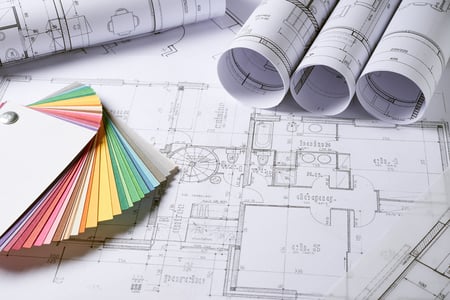
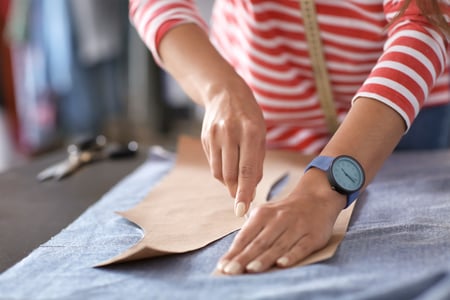
At Plan Printing 24, we work with all kinds of digital files daily - from intricate architectural drawings to bold A1 posters and fashion sewing patterns. So, we thought we’d share some practical advice on how to prep your designs for print like a pro, whether you're printing plans, posters, or anything in between.
So, what are our Top Tips for High-Quality Prints?
1. Use the Right Resolution
Let’s start with a golden rule: print requires higher resolution than screens. While digital displays work fine at 72dpi (dots per inch), print files should be at least 300dpi for sharp results. Anything less might look pixelated or blurry when enlarged.
Pro Tip: For large-format items like A1 posters, you can get away with slightly lower dpi (around 150–200dpi), but the higher, the better.

2. Mind Your Colour Mode
Your screen displays colours in RGB (Red, Green, Blue), but printers use CMYK (Cyan, Magenta, Yellow, Black). If you don't convert your file to CMYK before printing, your final piece might not match what you saw on screen.
You can easily convert colour modes in design tools like Adobe Illustrator, InDesign, or even Canva Pro. For hobbyists designing simple posters or sewing pattern covers, this step is often overlooked - but it makes a big difference.
For a deeper dive into colour conversions, Print Work's guide is a solid starting point.
3. Set the Correct Size & Bleed
Always check the exact dimensions your printer requires, including any bleed area (usually 3–5mm around the edge). This prevents white borders from accidentally appearing if the cut isn’t 100% precise.
For example, our Plan Printing service supports a range of paper sizes including A0, A1, A2, A3, and A4, and includes advice on file setup.
Sewing patterns or technical drawings? Keep everything to scale and leave space for notes or annotations.

4. Use PDF for Best Results
While JPEGs and PNGs are fine for quick images, PDF is the preferred format for print. It preserves vector data (hello, crisp lines) and allows for embedded fonts and colour profiles. This means what you design is exactly what gets printed.
If you're creating architectural drawings or layouts, exporting from tools like AutoCAD or SketchUp into PDF ensures maximum clarity and accuracy. And yes, we’ve written a full blog on drawing and printing architectural plans.
5. Do a Test Print (If You Can)
It sounds simple, but printing a smaller version at home or on a basic printer can highlight layout issues or typos before you commit to a full run. Better to spot a missing margin now than after 50 prints.

Ready to Print?
Whether you’re working on technical plans, event posters, or fashion designs, the print process doesn’t have to be a guessing game. A few small tweaks can make a big difference between a "meh" print and a "wow" one.
If you're looking for help bringing your digital files to life, we offer a range of services that cover:
Final Thoughts
Designing digitally gives you endless creative freedom, but printing is where it all becomes real. With just a little preparation, you can make sure your prints look exactly how you imagined them.
Still have questions? Our team is happy to check your file before you print - just get in touch.